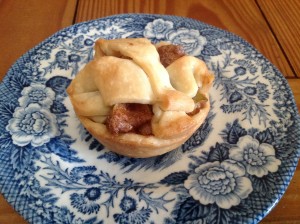
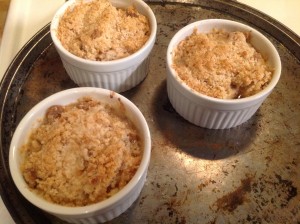
Hi everyone! Sorry I’ve been gone for a while, but I’ve been really busy. So to apologize I baked you some mini apple pies!
So, as I was saying, I’ve been super busy lately… busy with my NEW JOB! I know! How exciting! If you’ve been following me from the beginning, or happened to read my first post, you’ll know that I was formerly unemployed and looking for what I want to be when I grow up. Well, I am now employed at a fantastic company that I love but I still am struggling with my “grown-up calling.” But, that’s not something to be solved overnight, so we’ll delve into that further down the road.
So in honor of my newly acquired job, I wanted to share this recipe with you. I made them last weekend as a little dessert for my Lolo’s memorial mass. For those of you who don’t know, I am half-Filipina and Lolo is Tagalog for “grandpa.” He passed away ten years ago this April and we all miss him dearly. The nice thing about our culture is that we hold a memorial mass for the dead each year on (or near) their date of passing. Then we feast on lots of tasty Filipino foods. And this time, my apple pies. They went over SO well that I think my family wants me to make them weekly!
Here are the instructions:
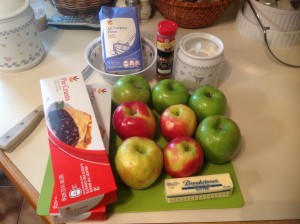
Gather all necessary ingredients: Flour, sugar, cinnamon, nutmeg, butter, pie crusts, and apples. I know that some of you out there may be brand-snobs, but I don’t discriminate. I think the Stop & Shop brand pie crusts work just as well as the more expensive ones. One note: make sure you get chilled pie crusts and not frozen.
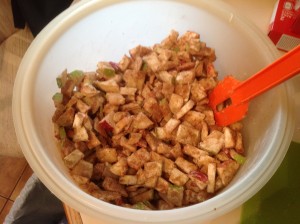
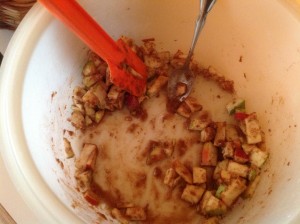
Chop up the apples into small cubes or rectangles. You can use red apples, green apples, or a mixture of both. I used both because I love the combination of sweet and tart. I started out with this pretty Pyrex glass bowl, but soon switched to the not-so-attractive giant plastic tub because, well, it’s GIANT.
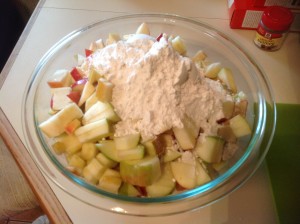
Combine the apples with the flour, sugar, cinnamon, and nutmeg. Make sure to mix it really well or else you’ll have nasty clumps of flour and sugar at the bottom. I like to let the apples hang out in this mixture for a while because they seem to soak in the flavors nicely. So while those are sitting, start unrolling your pastry crust.
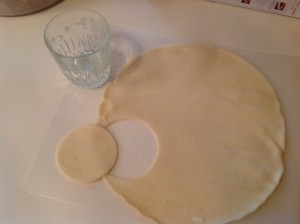
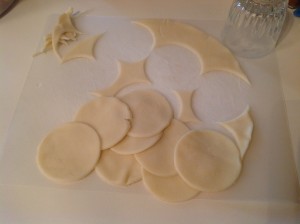
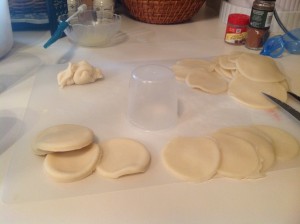
The nice thing about these pre-made crusts is that they are PRE-MADE(!!) and they roll out nicely. Who wants to spend all day making homemade pie crust that might end up dry and floury anyway? Exactly. I used my mom’s gorgeous rock glasses to cut out the bottom pie crusts for the cupcake pan. Since I am the illest-prepared baker ever, I only have one cupcake pan so I made 12 mini pies at a time.
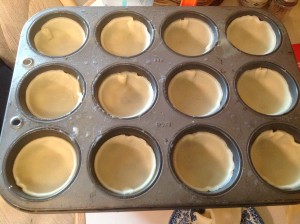
Unfortunately, I only got 9 crusts out of the first pie crust, so I had to go into the second package to make more. I always grease my baking pans because I am paranoid everything will stick, so I hit it with a little baking spray – for those of you unfamiliar with this product, it’s basically a mix of cooking lube with flour.
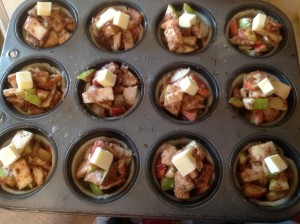
Next, fill each cupcake slot with apples until slightly heaping.
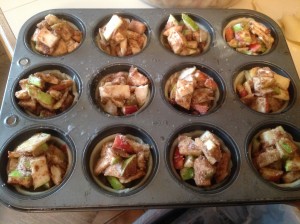 And now, are you ready for the magic? Top each cluster of apples with a pat of butter. Mmmmmm.
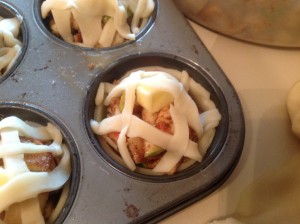
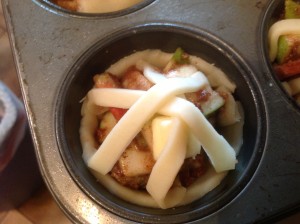
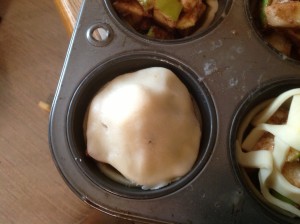
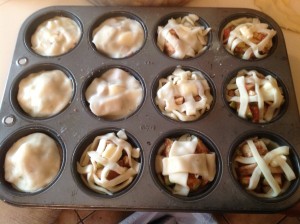
Now you can either get creative or take the safe route. I did both because I completely doubted my ability to make woven pie crusts. For the flat tops, I used a rice scoop to cut out the lids. As for others, I cut the scrap pieces of dough into strips and made a pound (#) pattern.
Here is my attempt at a trellis-y pattern. Not so hot.
I actually think this is more of a starburst. ha. To fasten the top crust to the bottom, I just tried to push the sides down so they connected with the crust sides.
Here’s a regular pie topped with the rice scoop cutout.
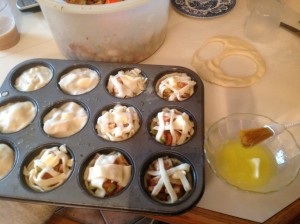
Here’s my first tray. Looks like a train wreck, doesn’t it!? I promise you they will bake up really nicely, regardless of how bad the pies look.
Before you pop them into the oven, brush some melted butter over the top of each pie.
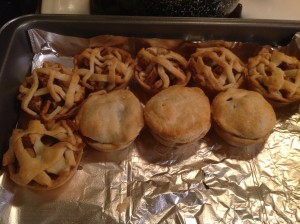
Annnnd… here is my first batch! Not bad, right? The trellis-y ones actually came out fantastic! If I make them again, I will take the extra time to make fancy tops for all of them because they came out so cute! Also for whatever reason, the fancy ones popped out of the pan a lot easier than the others.
So after I finished all 24 mini pies, I had some apples left. I didn’t want to throw them away and I certainly couldn’t eat them (Paleo, remember?) so I found the perfect solution.
Add booze!
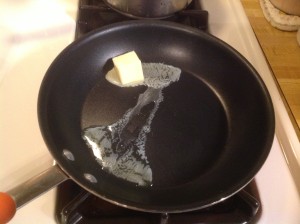
A few months ago I made a peach cobbler, so I figured I could try something similar with my extra apples! I was really living on the wild side because I had no recipe, I just winged it! First, add a good amount of butter to a frying pan.
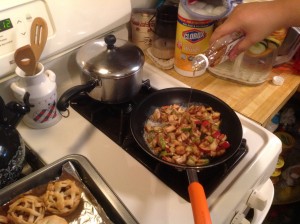
Add the remaining apples and let them warm up in the melted butter for a little while. Then, pour in the booze!
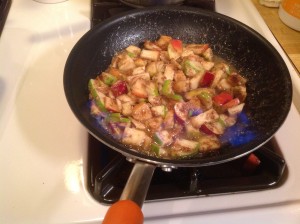
Saute the apples around for a while until they become soft and an oozy sauce starts to form. I added a little too much bourbon, so I raised the burner flame, tipped the pan, and let the fire burn off the remainder of the alcohol.
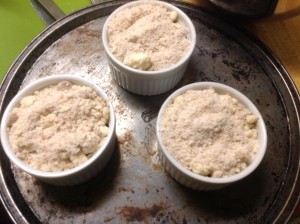
I made a quick crumble topping by mixing cold butter, brown sugar, flour, and vanilla extract together. Fill small ramekins with the sauteed apples and top with the crumble.
I let these babies bake for about 15-20 minutes, or until the tops get nice and golden brown. These came out delicious too!
The pies went like crazy at the memorial mass and even I could resist taking one and scarfing it down like a criminal. Try out the recipe and let me know how it goes!
Thanks for stopping by today and I promise to get on a more normalized posting schedule once I settle into my new job. Until next time, enjoy the blue waters of the Mayan Riviera, Mexico! Aloha!
Rating:
Prep Time: 1 hour
Cook Time: 22 minutes
Total Time: 1 hour, 30 minutes
Number of servings: 1 pie
Per Serving 679 calories
Fat 21 g
Carbs 127 g
Protein 3 g
Ingredients
- 5 large apples (I used a mix of red and green)
- 3/4 cup flour
- 1 1/2 cup sugar
- 4 heaping teaspoons cinnamon
- 1/4 teaspoon nutmeg
- 4 tablespoons of chilled butter cut into 24 equal portions
- 3 tablespoons melted butter for brushing
- 2 boxes chilled pie crusts (4 total crusts)
Instructions
- Preheat oven to 400F and grease a cupcake pan.
- Chop apples into small pieces and combine with flour, sugar, cinnamon, and nutmeg. Combine well and put to side.
- Unroll pie crust and cut out several circles. Continue this until you have 24 bottom crusts.
- Line each cup of your pan with a mini pie crust.
- Fill crusts with apples until heaping.
- Put a dab of butter on each pie.
- Cover each mini pie with another piece of pie crust. It is up to you to make them fancy fancy or just top them with more circular crust cut-outs.
- Brush each mini pie with melted butter.
- Bake for 18-22 minutes or until crusts are golden.

